




Recalbox: every console in your living room
Published on 10 October 2020
Last updated on October 10, 2020
Do you want a console with class, but your thing is really the console and arcade games of your youth, Zelda, Mario, Sonic, Street Fighter and co.? Then Recalbox is for you! The idea is to build your own mini "retro" console to plug into your telly. It'll let you play most retro games on every console, Sega, Nintendo, Atari, Amstrad, Playstation, Neo Geo, and so on… In this article I'm going to tell you what to buy, how to install it, where to find games, and there you go!
This article has been updated since the release of Recalbox v7, which, in addition to offering more power thanks to Raspberry 4 support, allows more systems to be emulated, but also further simplifies the installation of the system and the games, in particular thanks to data management, which is no longer done solely over the network. In short, go for it, it's super simple, even for a noob like me.
- Is it legal?
Whatever anyone says: absolutely not. Actually, building your console isn't illegal in itself, but emulation poses a certain number of legal problems concerning the games themselves, which you have to download from generally pirate sites in order to play them. There's also the problem of what are called the consoles' "bios", which you also have to pirate to make them work. So yes, the games and the bios are easily found, absolutely everywhere, but no, it's not legal. Enthusiasts have made bios or games that are legal to use; for the rest, it's at your own risk. As for me, even though I have a bunch of them, I tend to play mostly games I'd already bought when I was younger, or that I also own in a "legal" version, either on CD or on cartridge. It's still borderline, but you reassure yourself however you can.
- Is it complicated?
Not at all, and as long as you've bought the right hardware, it can be knocked out in 20 minutes. Yes yes, you read that right. No lines of code or complicated stuff, far from it. It installs very easily with any PC or Mac. Don't be scared by the length of this article, it's REALLY simple and quick.
- What hardware?
Below I'm giving you all the links to the gear I chose myself; we're rather on the "high-end" side, products that on top of being quality will make the whole install easier, in particular thanks to the case.
Yes, I'm only sticking Amazon links, but if you feel like ordering this elsewhere, knock yourself out. Personally I go for the simplest. If you have an Amazon Prime account, you'll receive everything super quickly on top of that.
Alright, here we go:
- Raspberry 4 It's the latest version of the Raspberry mini computer, with 2 GB of RAM. There are versions with more RAM but they're useless for building a Recalbox.
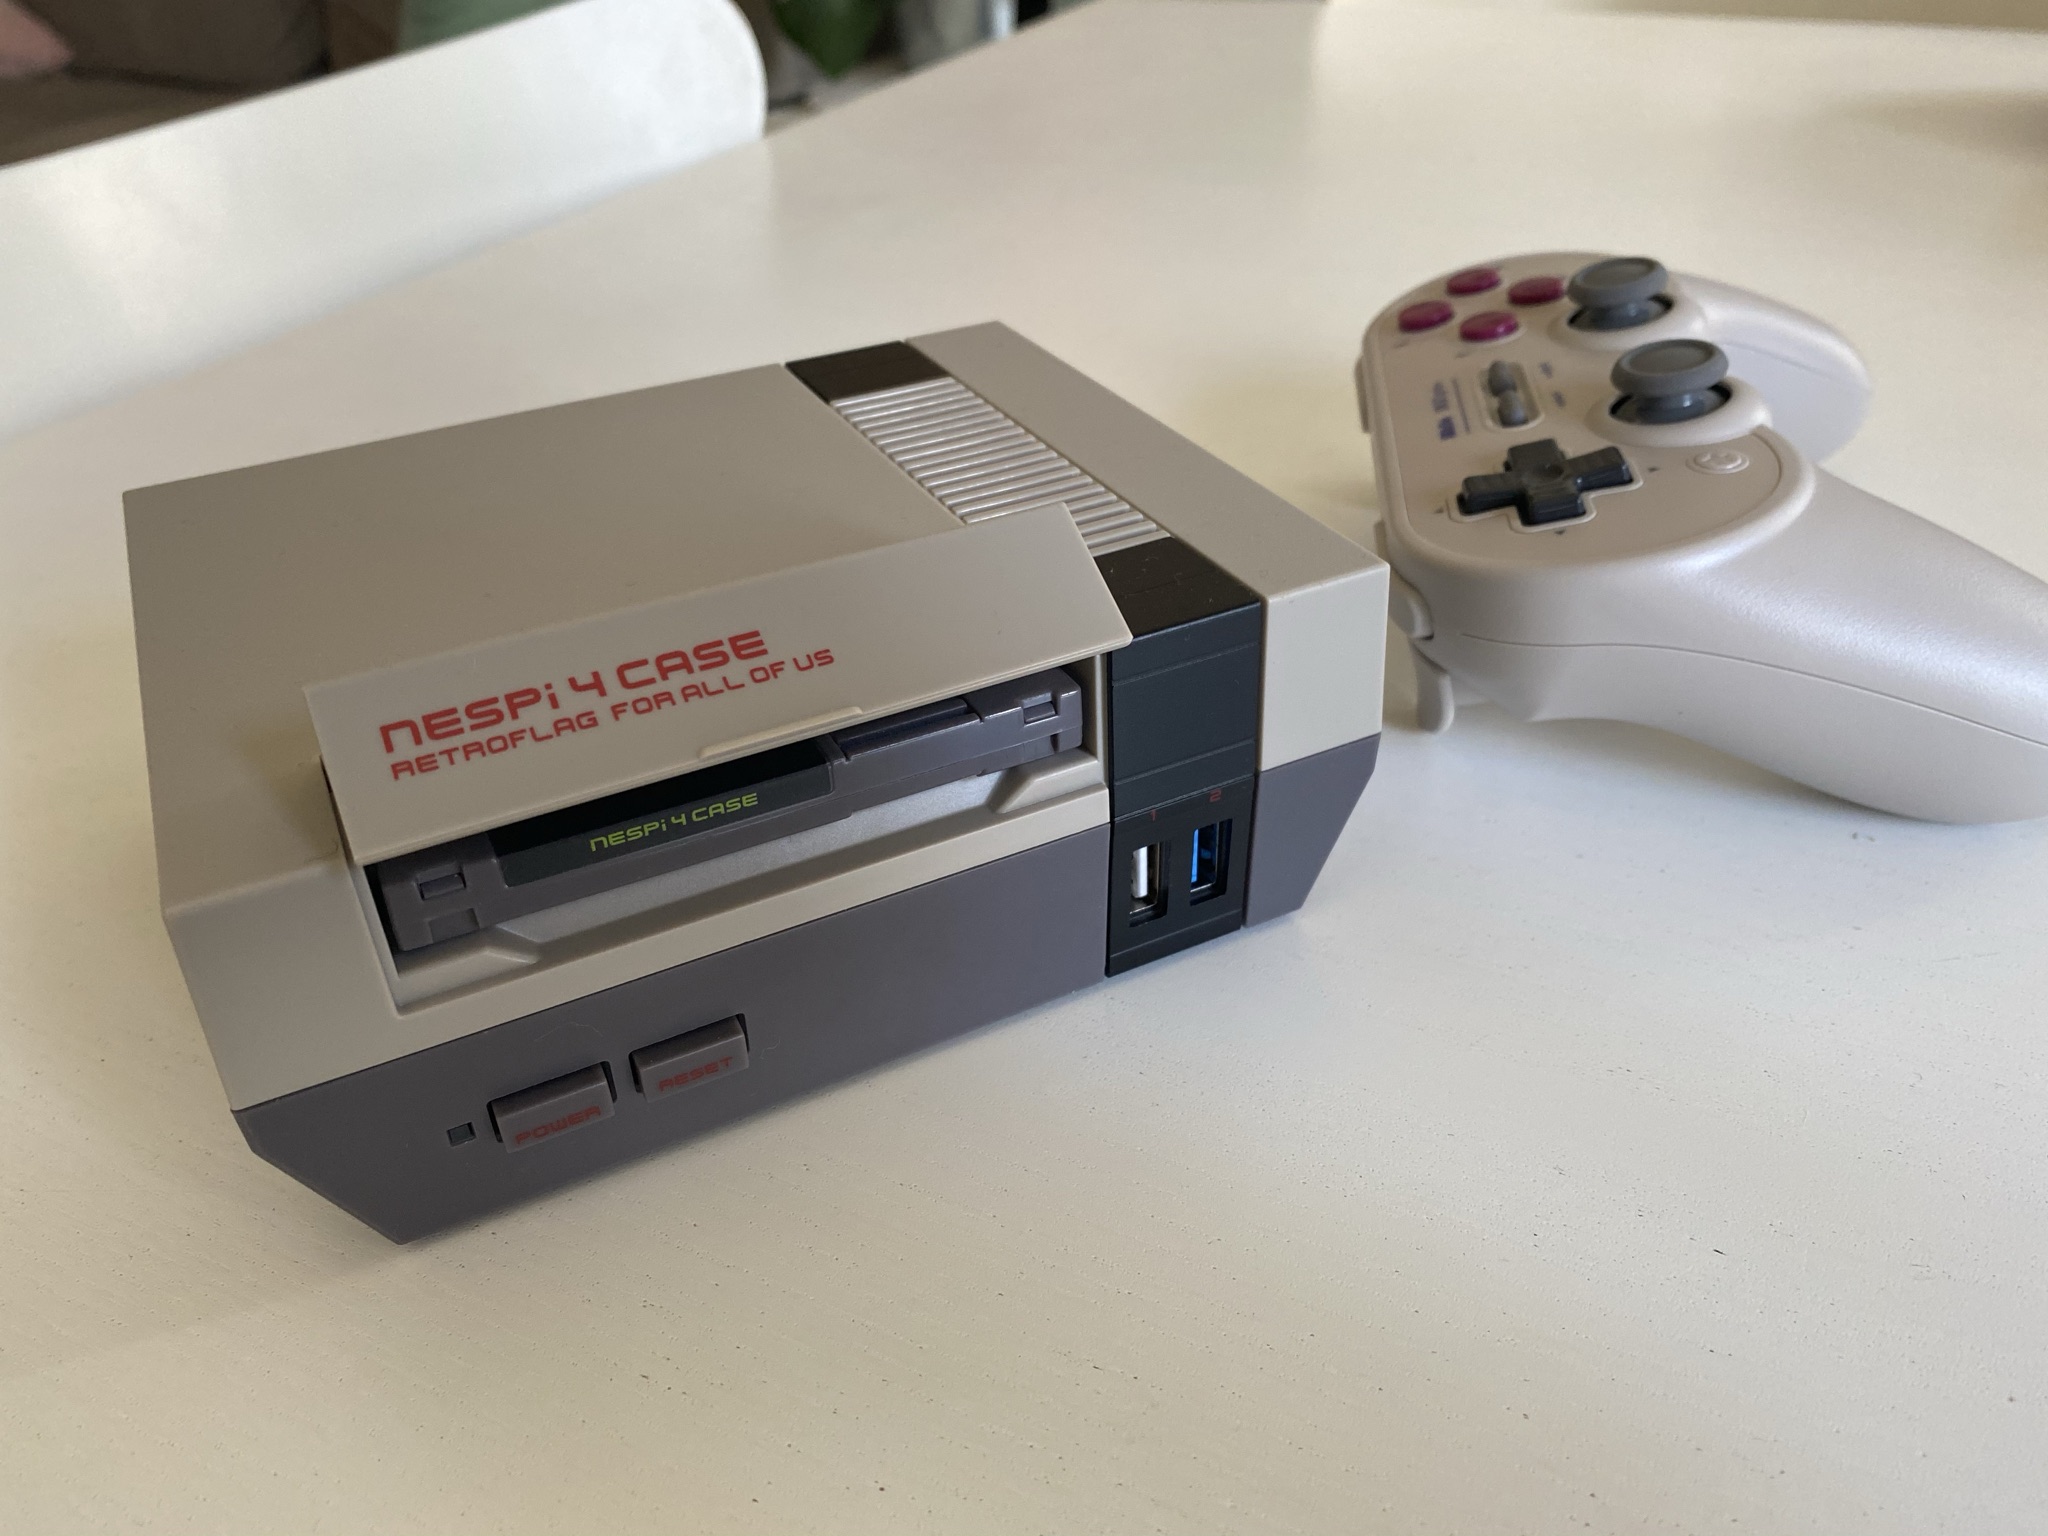
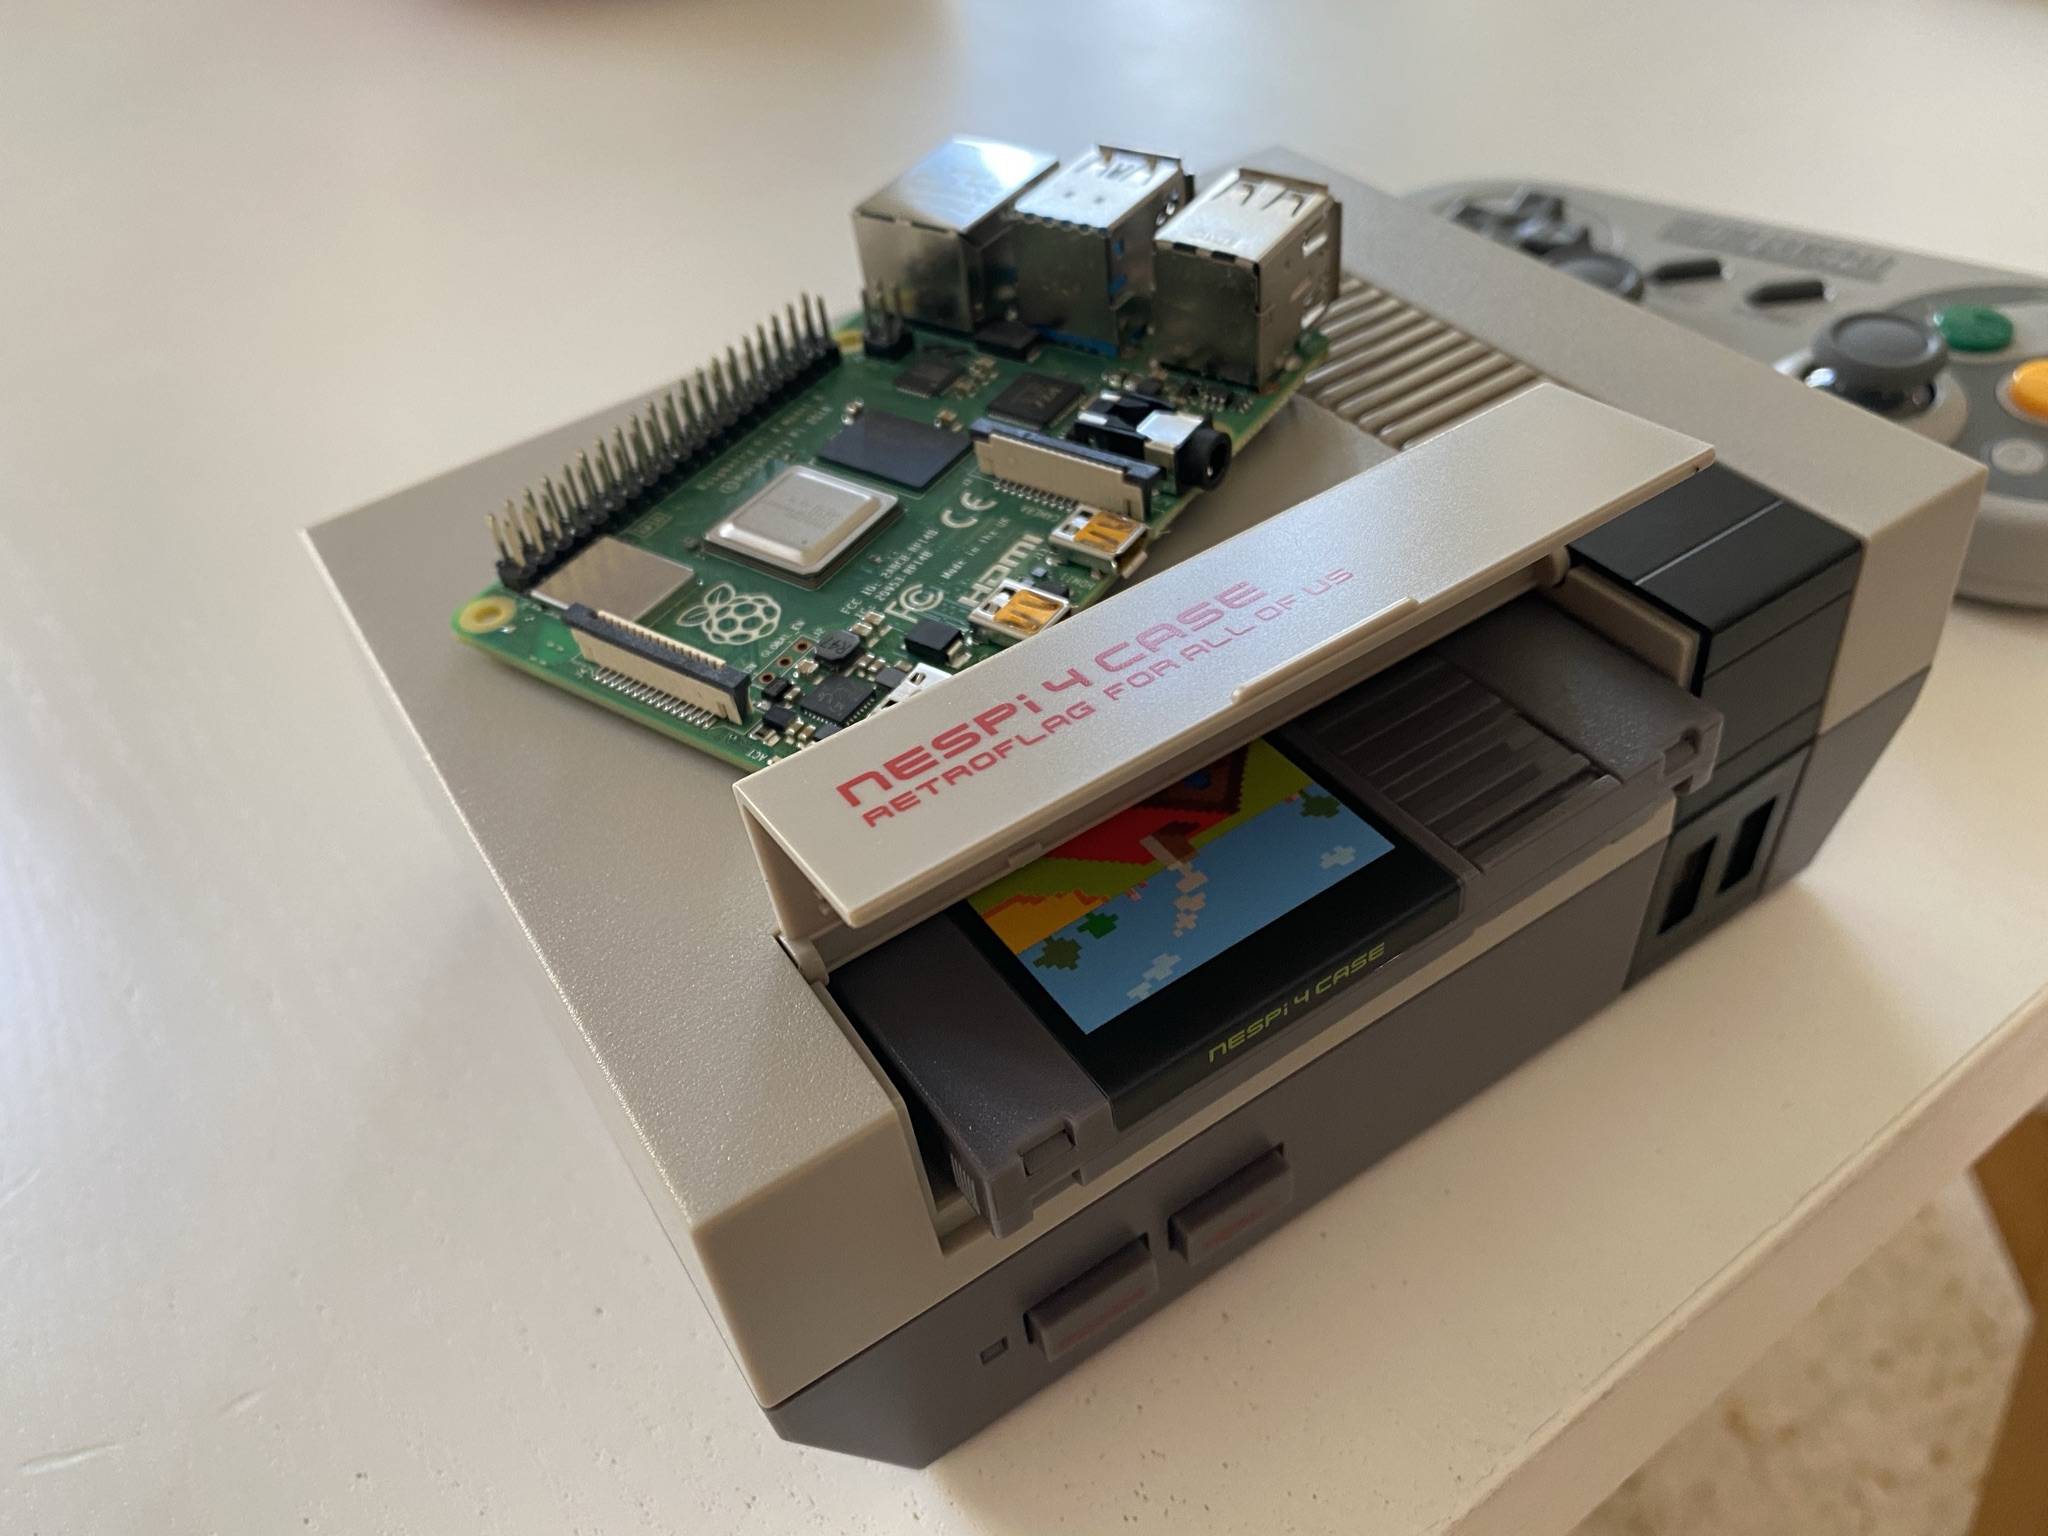
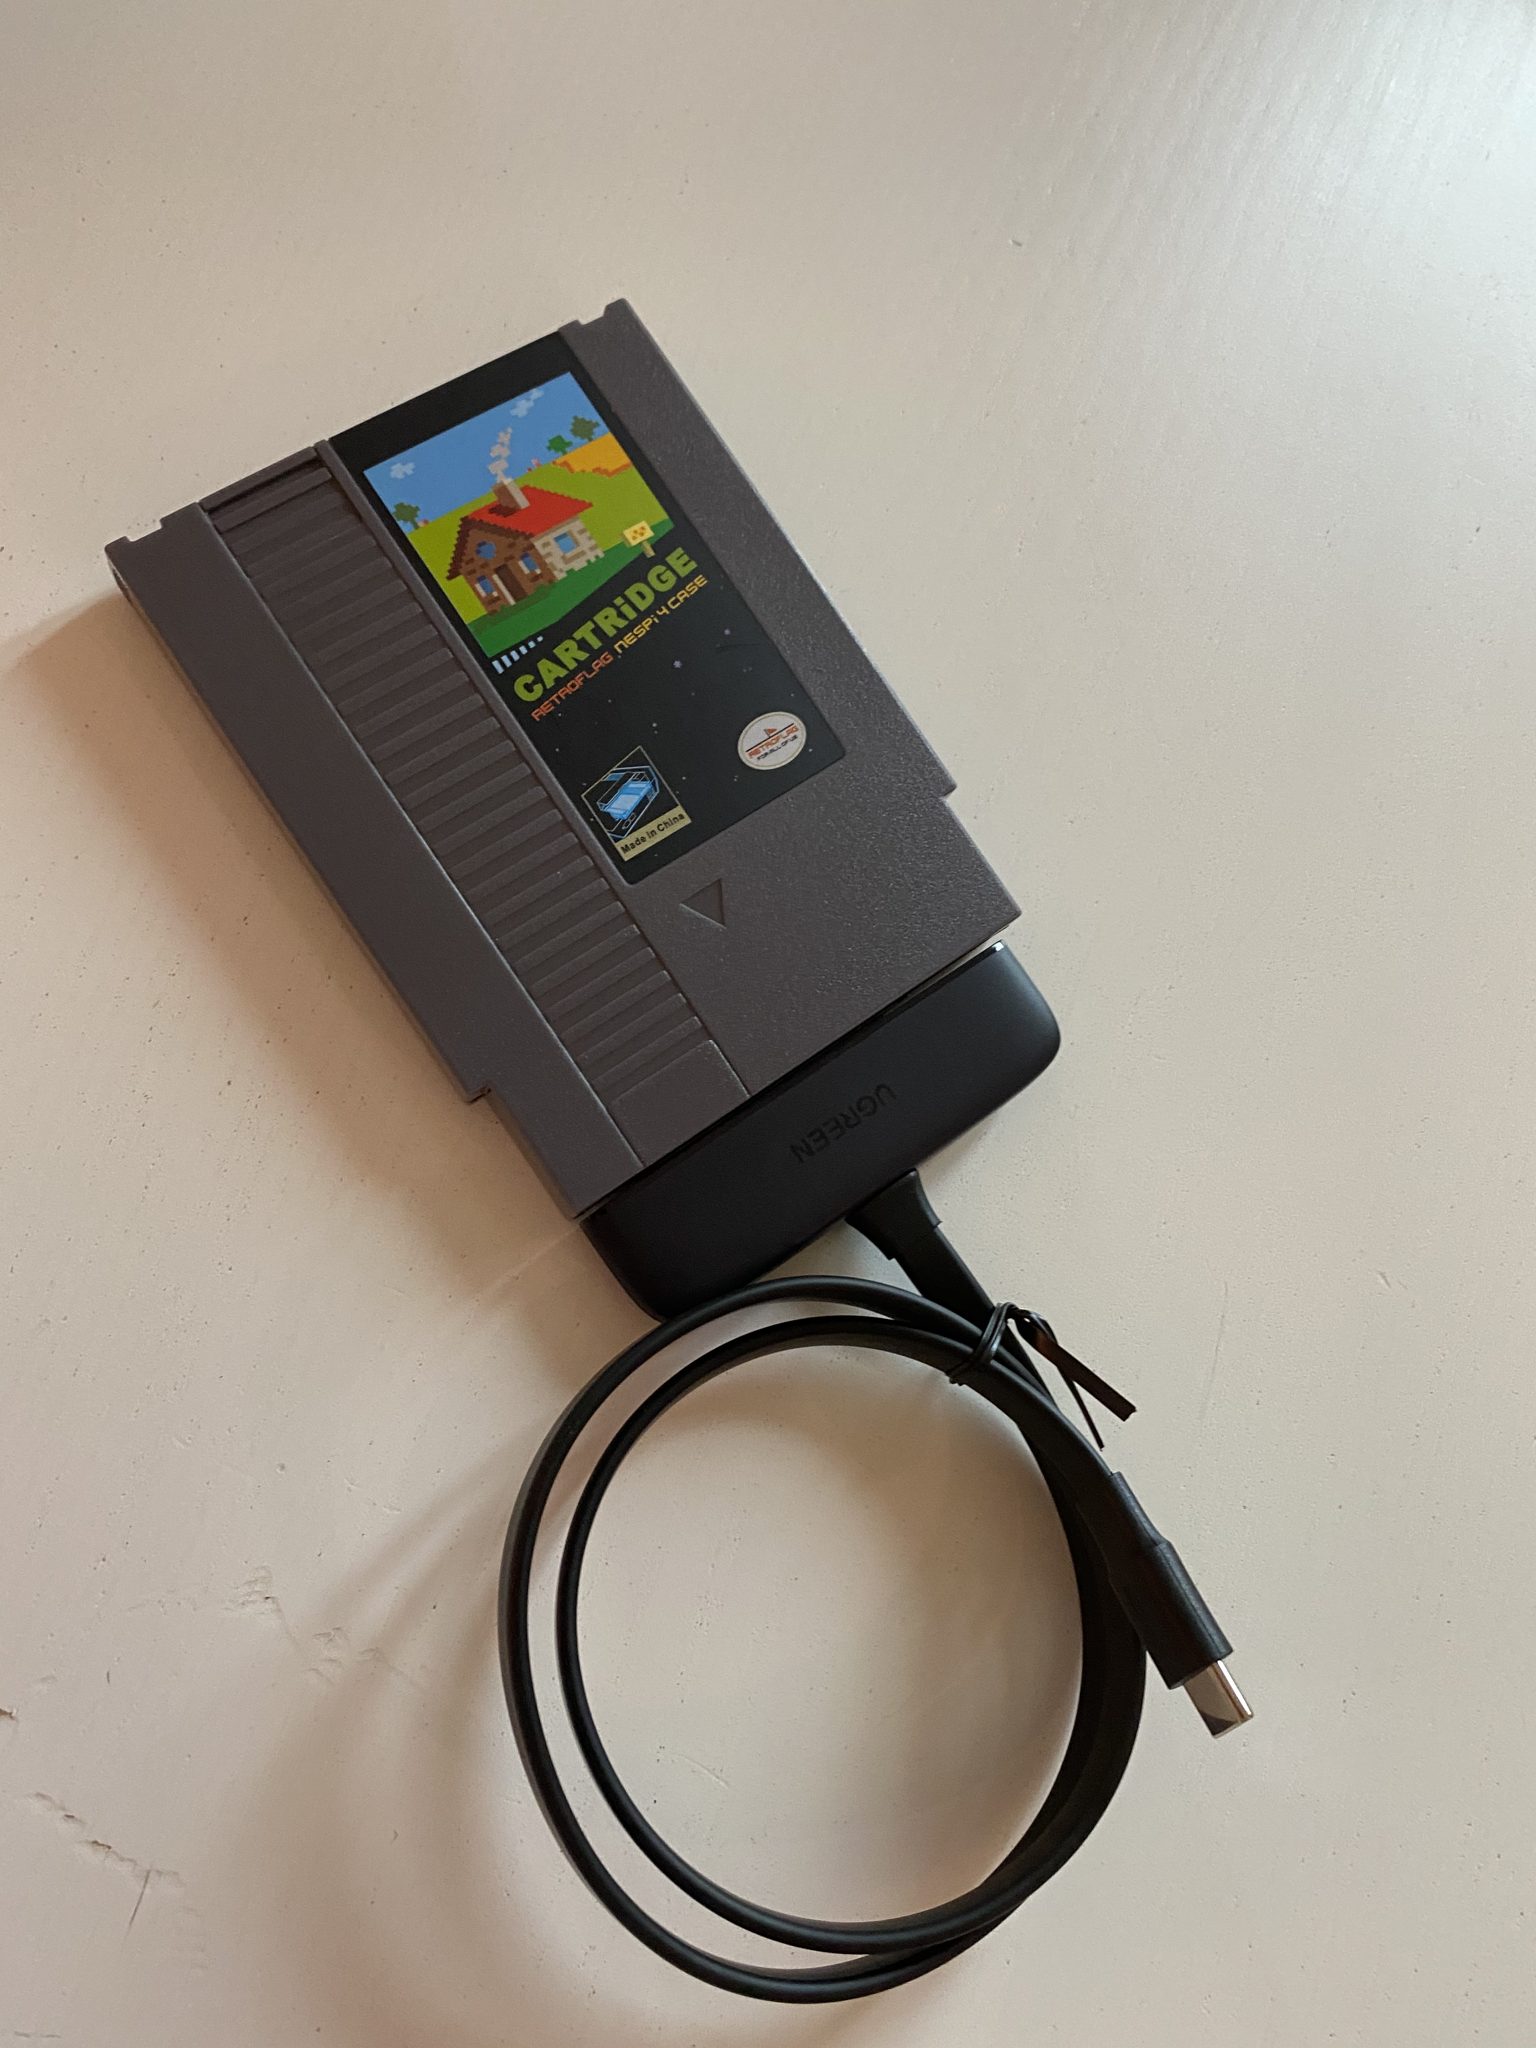
- Nespi 4 Retroflag case There are much cheaper cases, but this one is quite simply brilliant. It's shaped like a NES, and it comes with a fake cartridge into which you can insert an internal hard drive to store your games. It comes with everything needed for assembly, even the screwdriver, it's ideal!
- microSD card An 8 or 16 GB card is more than enough to install the system.
- Internal hard drive or SSD + USB adapter To store your games! An SSD is clearly recommended; as for the size it's up to you, I chose a 1 TB model to be safe, but if your games don't take up too much space, 256 GB can suffice.
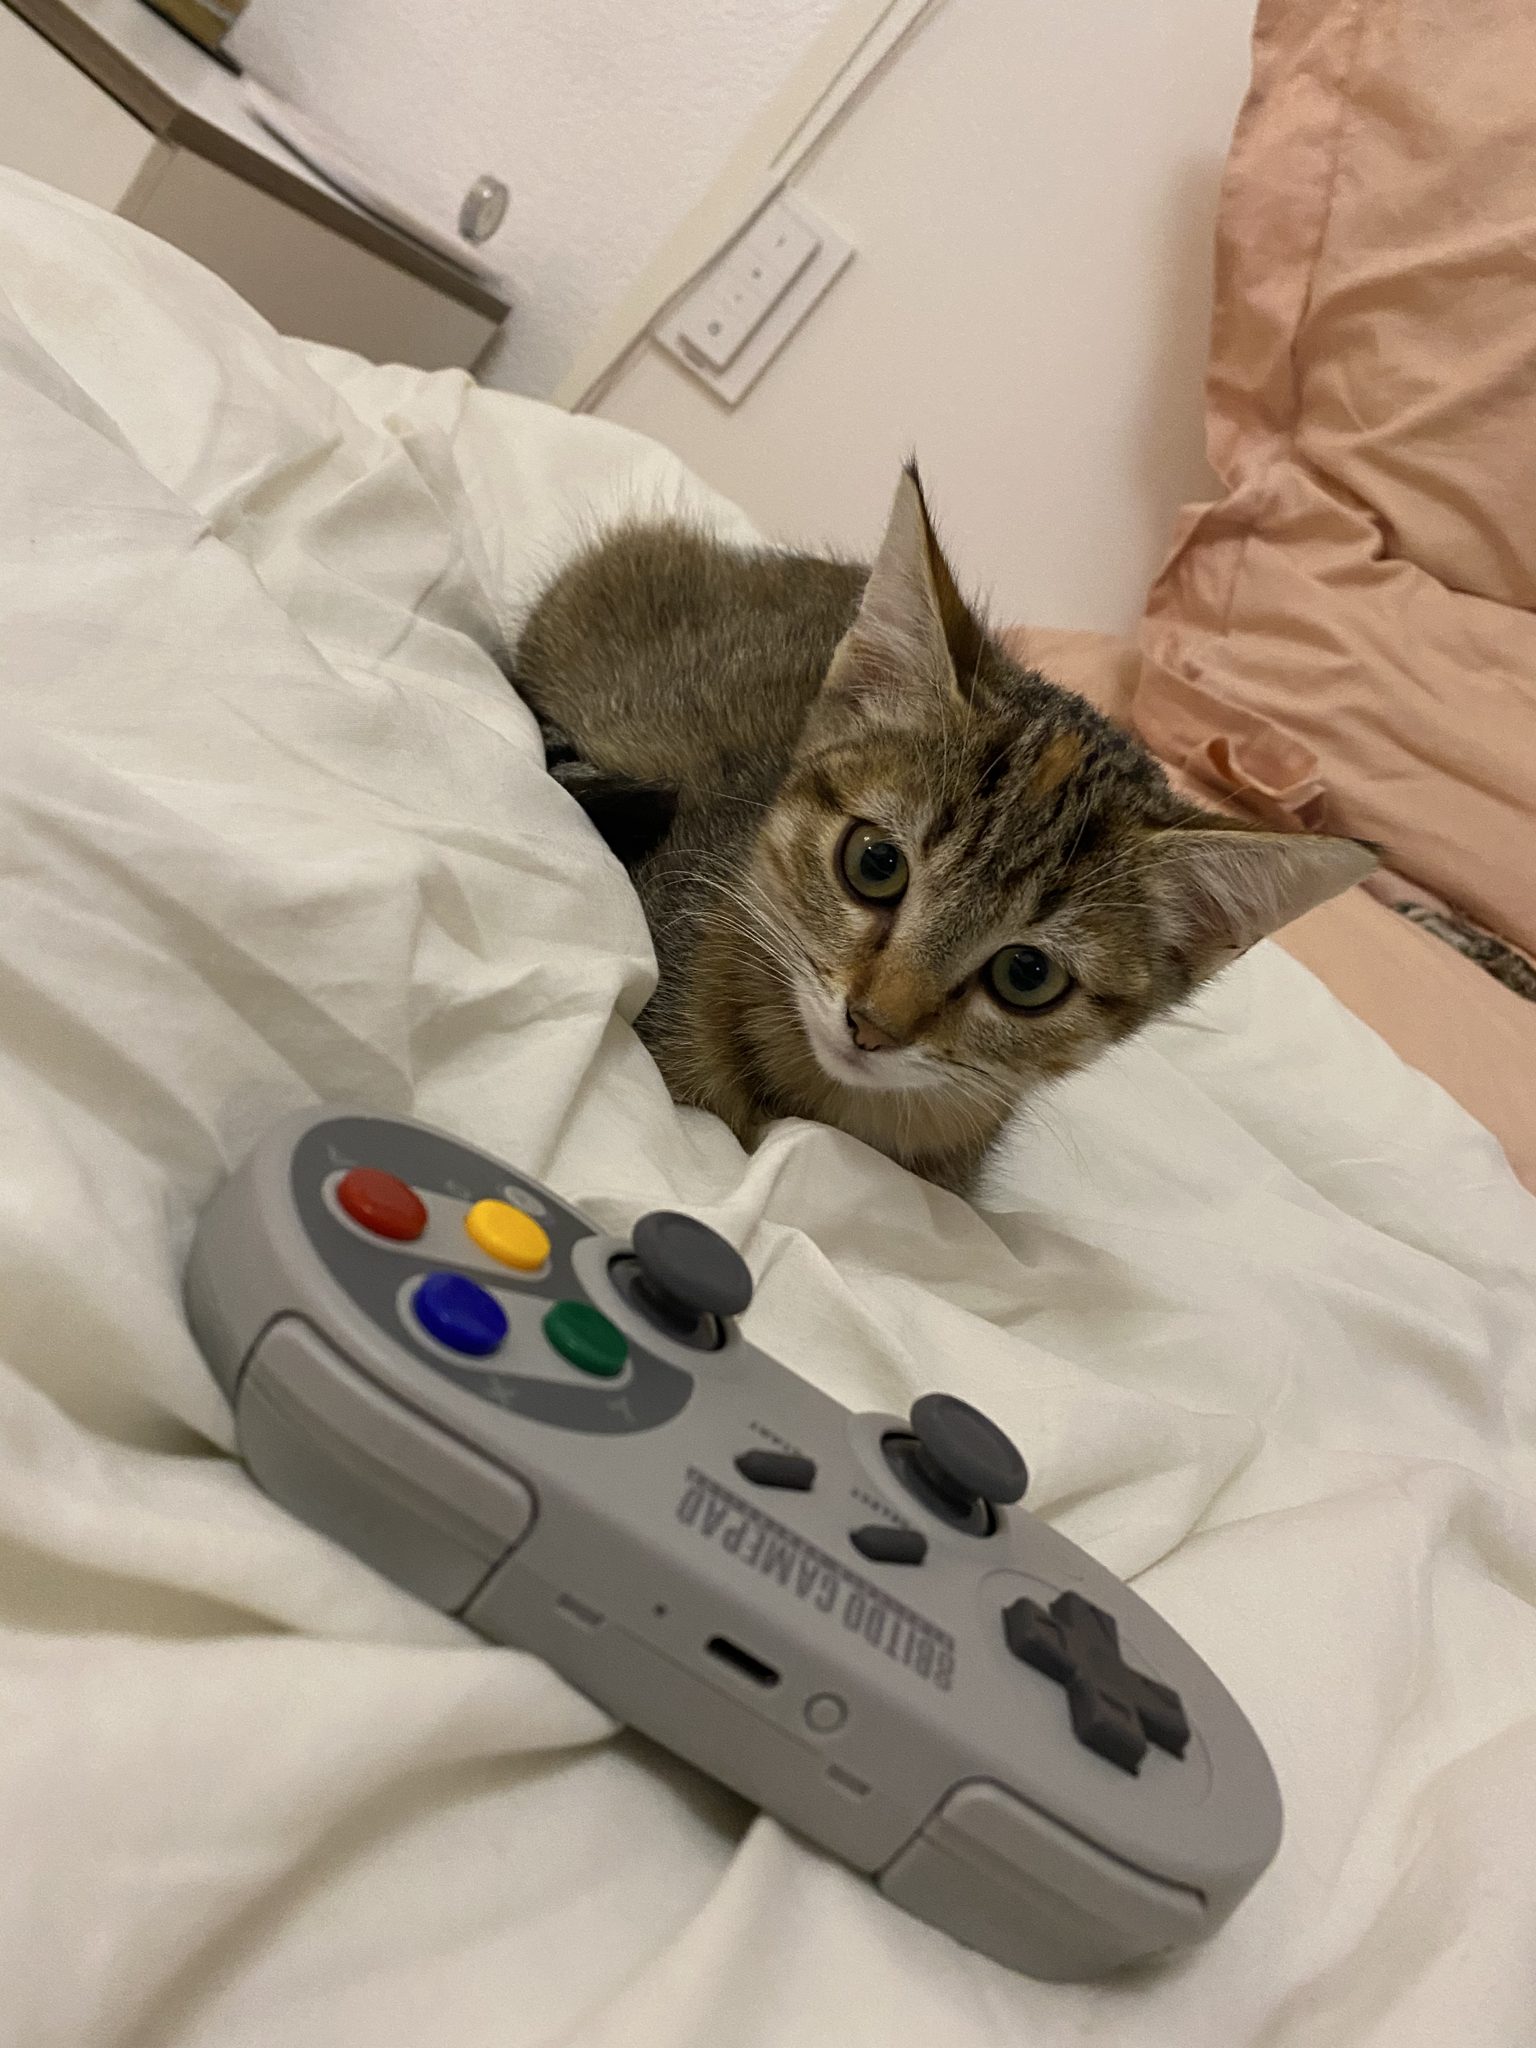
- 8BitDo wireless controller There are several compatible models; the advantage of the 8BitDo brand is that they'll be recognized directly. The model I'm linking is my favorite. But you can choose a different model, and even a wired one that'll be cheaper to buy. If you want to play two-player, well, buy two (no need to buy the same ones)!
- Keyboard Honestly you can plug in any PC keyboard. But I've linked the "official" Raspberry keyboard, which is nice. Otherwise there are much cheaper ones that'll do just fine.
- MicroSD card reader If you don't already have one, obviously.
- Micro HDMI cable To connect the console to your television. Note that if you already have a classic HDMI cable, the case I recommend above comes with a micro HDMI adapter, so this purchase is optional.
Count on between €100 and €200 in total, depending on whether you have gear to recycle, the type of controller you choose, and the size of the drive you're going to put in the case.
- What operating system to install?
To keep it simple, there are two systems that are very widely used to install this kind of thing, Retropie and Recalbox. As you'll have gathered, I ended up choosing Recalbox. Neither is better than the other, the approach is simply different, and I figured Recalbox was simpler to install and get working. If you'd rather test Retropie, knock yourself out.
- How do you install the hardware?
With the NesPi4 case it's really simple, you even get a manual! You'll see, it's like building your own console out of Lego, it's fun. You stick the Raspberry in the case, and there you go, it's done. Bye.
No, I'm kidding, it's not done. You plug in the cables inside following the (simple) instructions, you close everything up. You connect everything to your TV and to your router or Internet box, and you wait a bit before turning it all on, ok?
We need to install the system on the microSD card now!
- And how do you install Recalbox?
Well, you start by formatting the microSD card and the SSD in exFAT; if you're on Mac, you do that with "Disk Utility". If you're on Windows, well, figure it out, I don't know, but it must be just as dumb.
Let me remind you that the SD card will be used for the system, and the hard drive for the games and the bios.
Is your SD card ready? Good, let's install Recalbox on it. To do this download the latest version directly from the Recalbox site, choose the version for "Raspberry Pi 4". You'll end up with an image of the Recalbox install that you can simply flash onto your SD card using the balenaEtcher app, you'll see it's super simple.
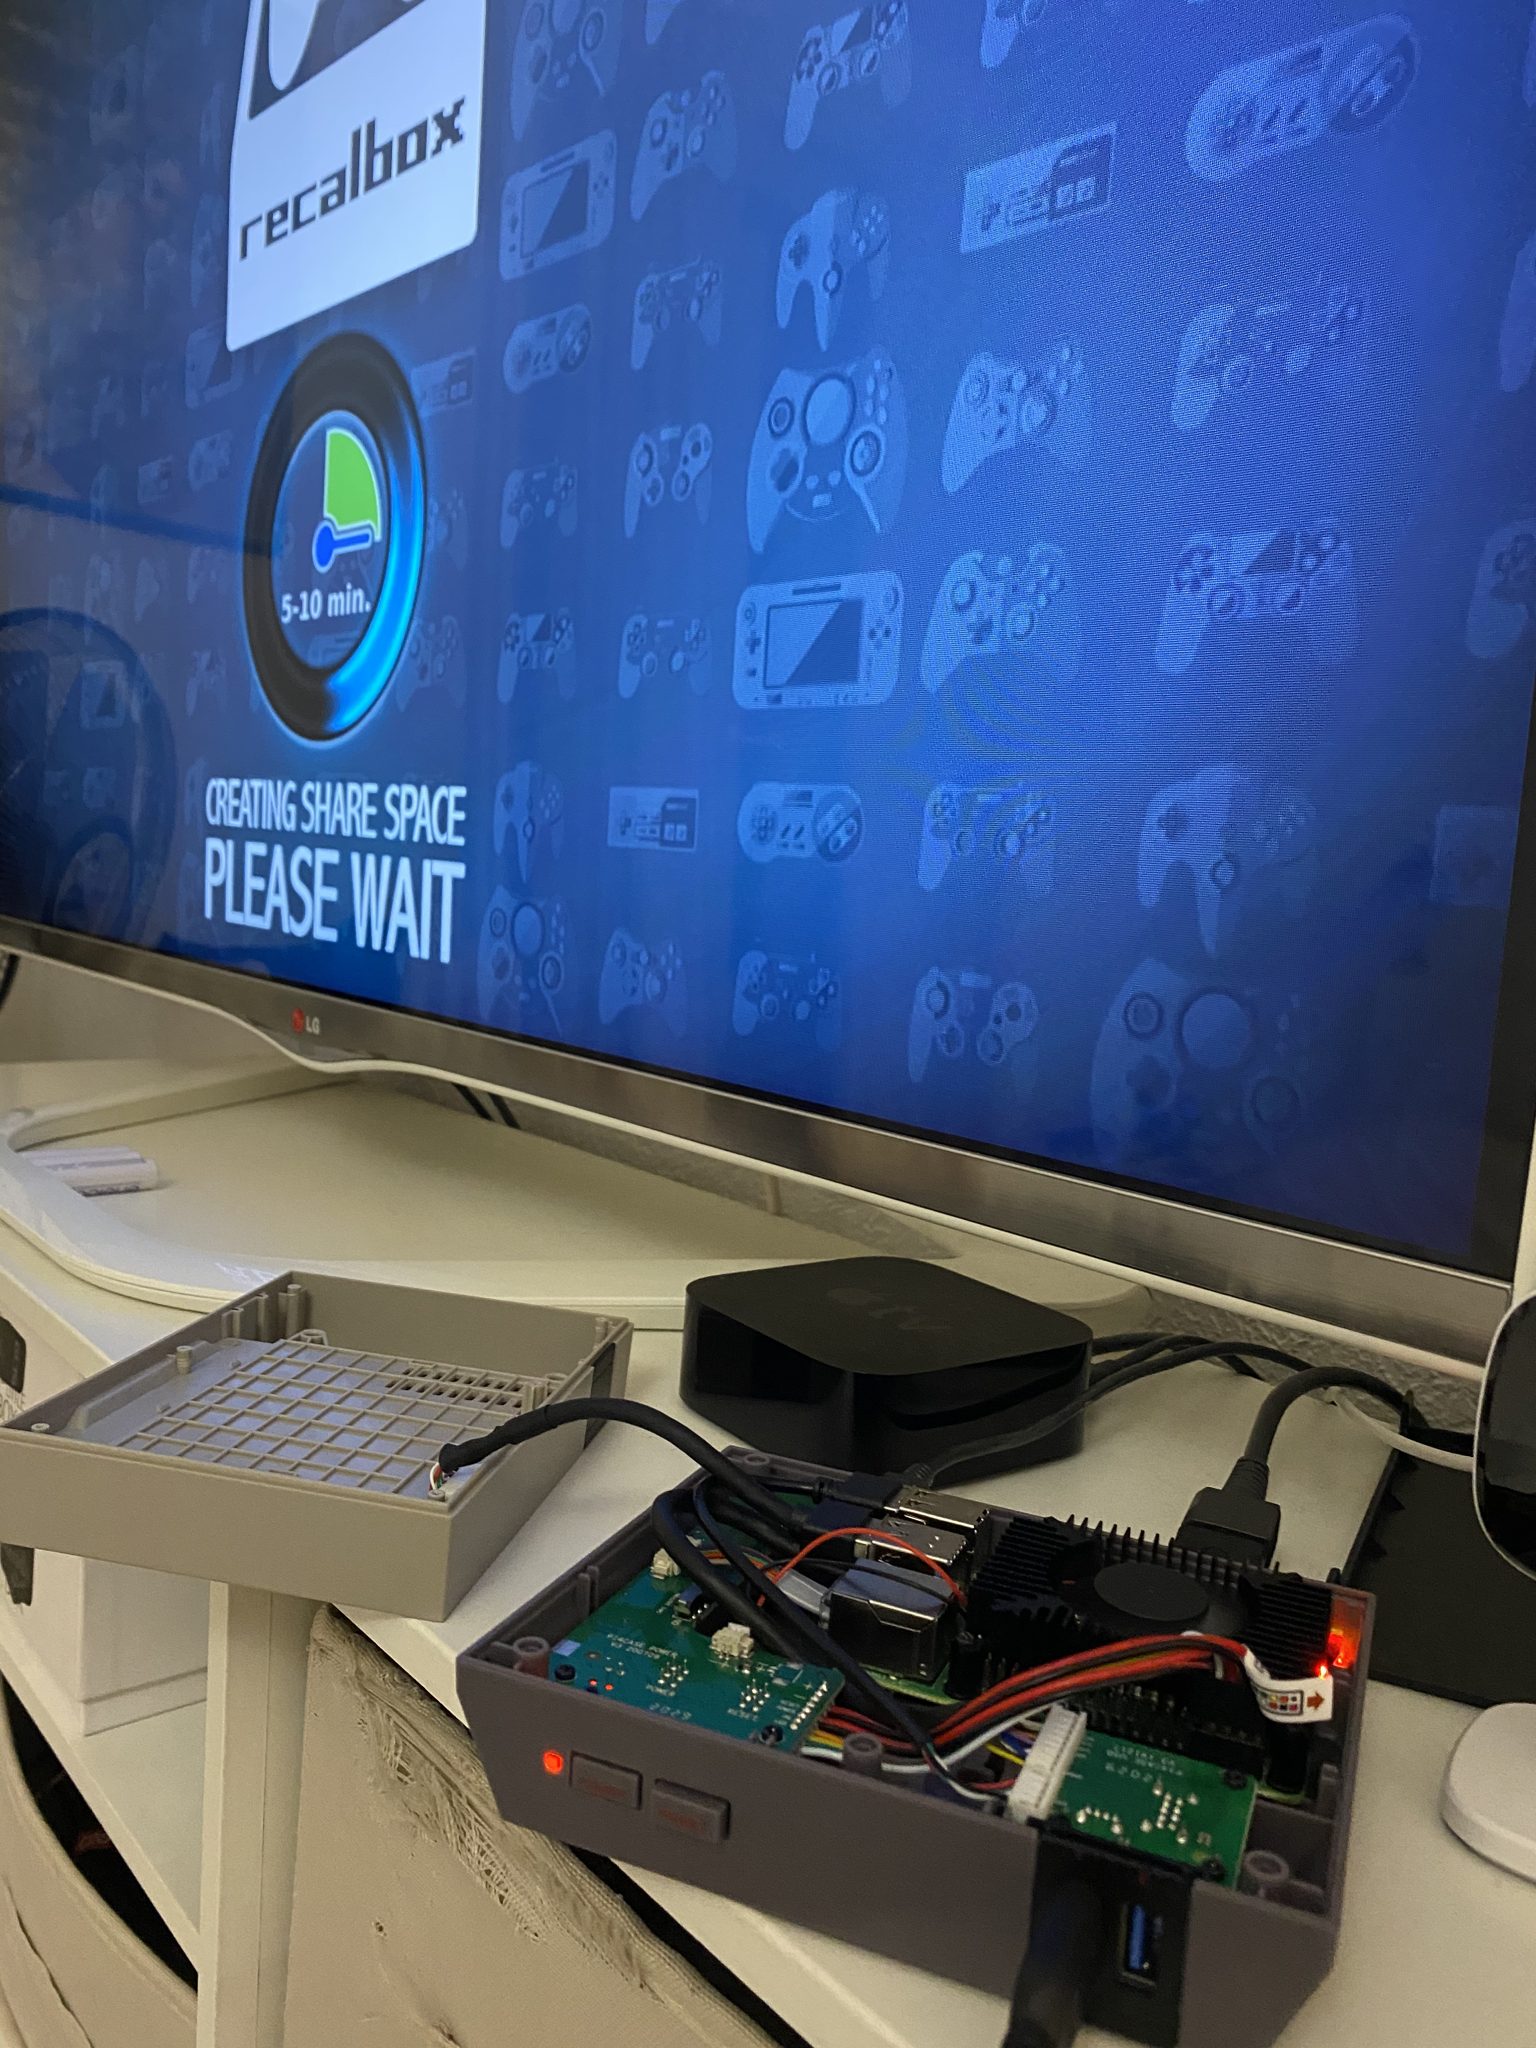
Insert your microSD card into your Recalbox, the SSD into the case, plug in the keyboard, and NOW you can turn it all on! Before your totally amazed eyes, the system will install itself, without asking you anything. Marvelous, no? So wait a little bit and Recalbox's lovely interface will appear on your TV.
- Gotta configure the whole thing afterwards, right?
Yes. A little tour of the menus to: – Switch the language to French. – Disable the menu music. – Enable storing games on the external drive (you'll need to reboot after this step). – Put your games in the "roms" folder created on your hard drive. – Put the bios in the "bios" folder created on your hard drive. – Head to the "controllers" menus to configure your controllers. The default controls are the controller's start button to move around the menus, or "enter" on the keyboard; for the rest I'll let you find the right keys.
- Where are the games and the bios?
Ha ha. Well, on pirate sites or emulation sites. If you hang around the depths of the Internet like YGGTorrent and other stuff of the sort, there are plenty of Bios and game packs (games are called Roms), plenty enough to end up in prison for the rest of your days. I advise you, of course, not to be in illegality, and so I recommend you play with the many legal games bundled with Recalbox 7. I also recommend you not smoke drugs and avoid jaywalking, you little rascals.
- Frequently asked questions
– Do all the games work? Sadly no, sometimes there are some that act up a bit, but depending on Recalbox updates, some may start working overnight. Most work fine.
– What do you play? Mostly Neo Geo games, I think I actually built my Recalbox just for that. But I also play a few SNES or arcade games from time to time.
– How many people can play? Well, it depends on the games and the number of controllers you bought. I think the max is 4 or 5.
– Is it me or is the controller lagging a bit? It used to happen sometimes before, but since Recalbox 7 I no longer have this problem at all.
There you go, that's all! Oh yes, don't hesitate to take a tour of the Recalbox site, which is full of documentation and tutorials to help you with the assembly and the configuration!
By Paingout